Merchant Portal — User Manual
P2P Transfer Platform · English edition
The Merchant Portal is the back office for a business that routes its customers' deposits and withdrawals through the P2P platform. From here your team monitors transactions, fulfils withdrawals, reviews payment slips, manages users and staff, tracks billing, and configures how money is routed.
This manual is operator-first: the everyday business workflow comes first. Technical integration topics — API keys, the partner API, and webhooks — live in Appendix A — Developer & Integration.
Table of contents
- Before you begin — key concepts
- 1. Signing in
- 2. Your dashboard
- 3. Transactions
- 4. Withdrawals
- 5. Slip review
- 6. Users
- 7. Billing & usage credit
- 8. Settings
- 9. Sub-merchants
- 10. Team
- 11. Priority grants
- Appendix A — Developer & Integration
- Appendix B — Glossary
A note on this edition. A few screens document features that are still being finished — they are clearly flagged with a Work in progress callout wherever they appear. Nothing marked that way is guaranteed to accept changes yet.
Before you begin — key concepts
A few ideas explain almost every screen. Read this once and the rest of the portal will make sense.
The platform never holds money. It is a ledger and a matchmaker. When a withdrawal is fulfilled, money moves bank-to-bank between the two people — the platform records the transfer, it never touches the cash. This is why "fulfilling a withdrawal" means uploading proof of a transfer that was made (by you or by the matched seller), not clicking a "send money" button.
Deposits become credit; withdrawals spend it.
- A deposit adds credit to a user's wallet in your merchant pool. The customer pays into a bank account (or payment gateway) and uploads a slip; once the slip is verified, the credit lands.
- A withdrawal spends that credit. The platform matches it, a counterparty transfers the cash, and you (or the platform) confirm it with a slip.
Credit kinds — you'll see these on user balances:
- REAL — real, withdrawable credit. This is what matching and billing revolve around.
- POINT — promotional, non-withdrawable credit. Set via the API; it never enters matching.
- PLATFORM_CREDIT — a separate pool, fulfilled only by an admin.
Deposit lifecycle — the states you'll see on transactions:
Reservation created → awaiting slip → slip uploaded → verifying → settled (credit lands).
A deposit can also arrive over the reserved amount (only the reserved amount is credited; the excess is flagged) or under it (only what actually arrived is credited).
Who can do what — staff roles. Every action in this manual is gated by role:
| Capability | OWNER | OPERATOR | VIEWER |
|---|---|---|---|
| View dashboard, transactions, users, billing | ✅ | ✅ | ✅ |
| Fulfil withdrawals · review slips | ✅ | ✅ | — |
| Reveal a user's full bank number | ✅ | ✅ | — |
| Rotate API key / HMAC · integration test · webhooks | ✅ | ✅ | — |
| Manage bank accounts, gateways, priority thresholds | ✅ | — | — |
| Invite staff / change roles · sub-merchants | ✅ | — | — |
1. Signing in
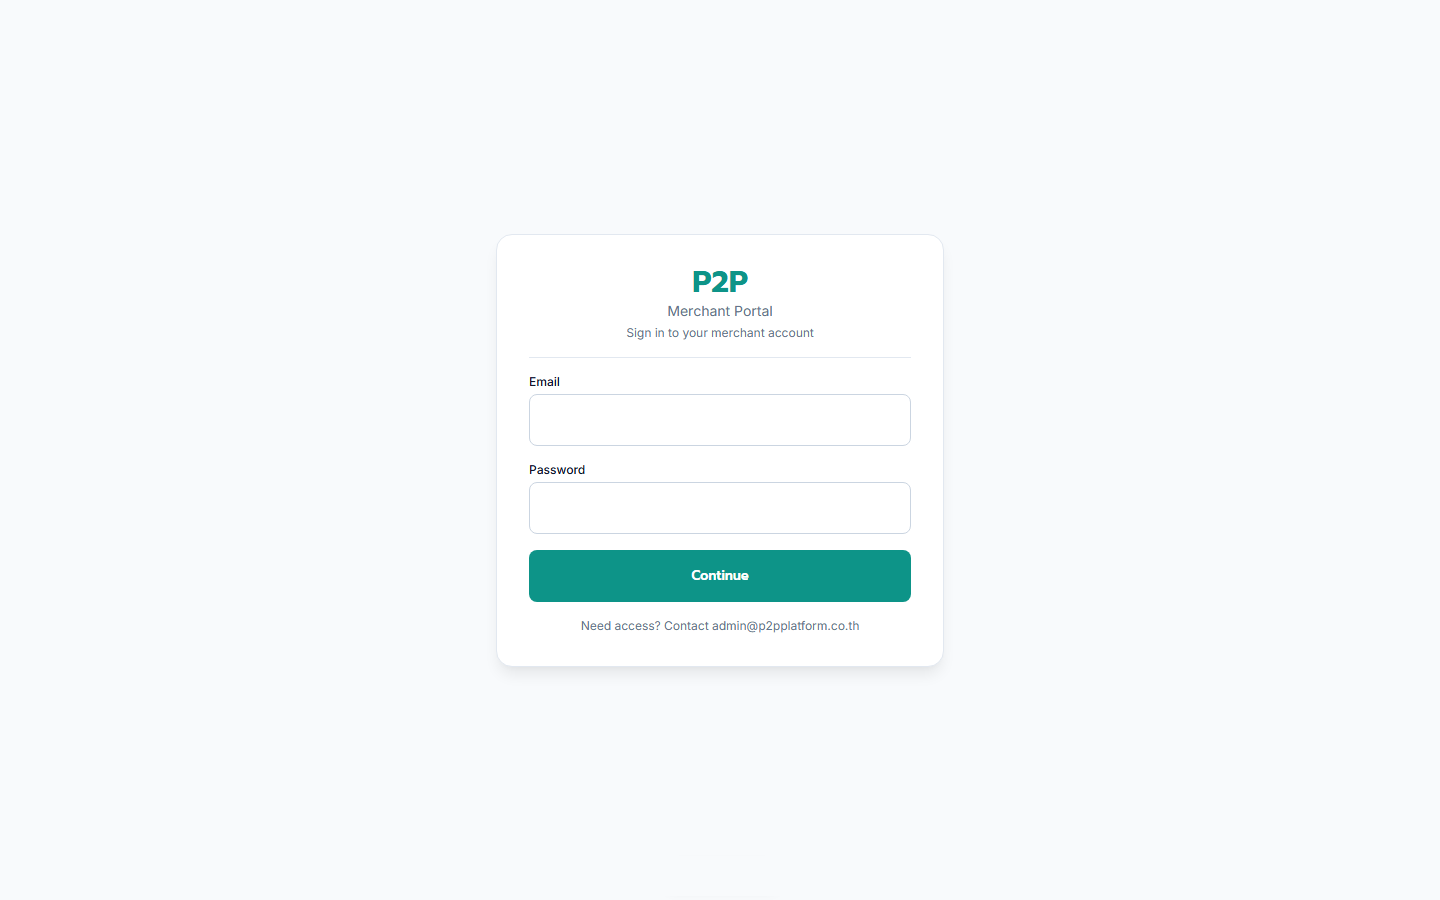
/merchant/login.Signing in takes two steps, every time, for every staff member:
- Email + password at
/merchant/login. - 6-digit code from your authenticator app (Google Authenticator, Authy, 1Password, and the like).
First time here? If an owner — or your reseller — invited you, your first sign-in uses a temporary password and walks you through onboarding: set a permanent password (at least 12 characters, including a letter and a number), scan the TOTP QR code with your authenticator app, and confirm a code. After that you land on the dashboard.
Lost your authenticator? An owner can reset your credentials from Team (see Section 10). This issues a fresh temporary password and clears your 2FA so you can re-enrol.
2. Your dashboard
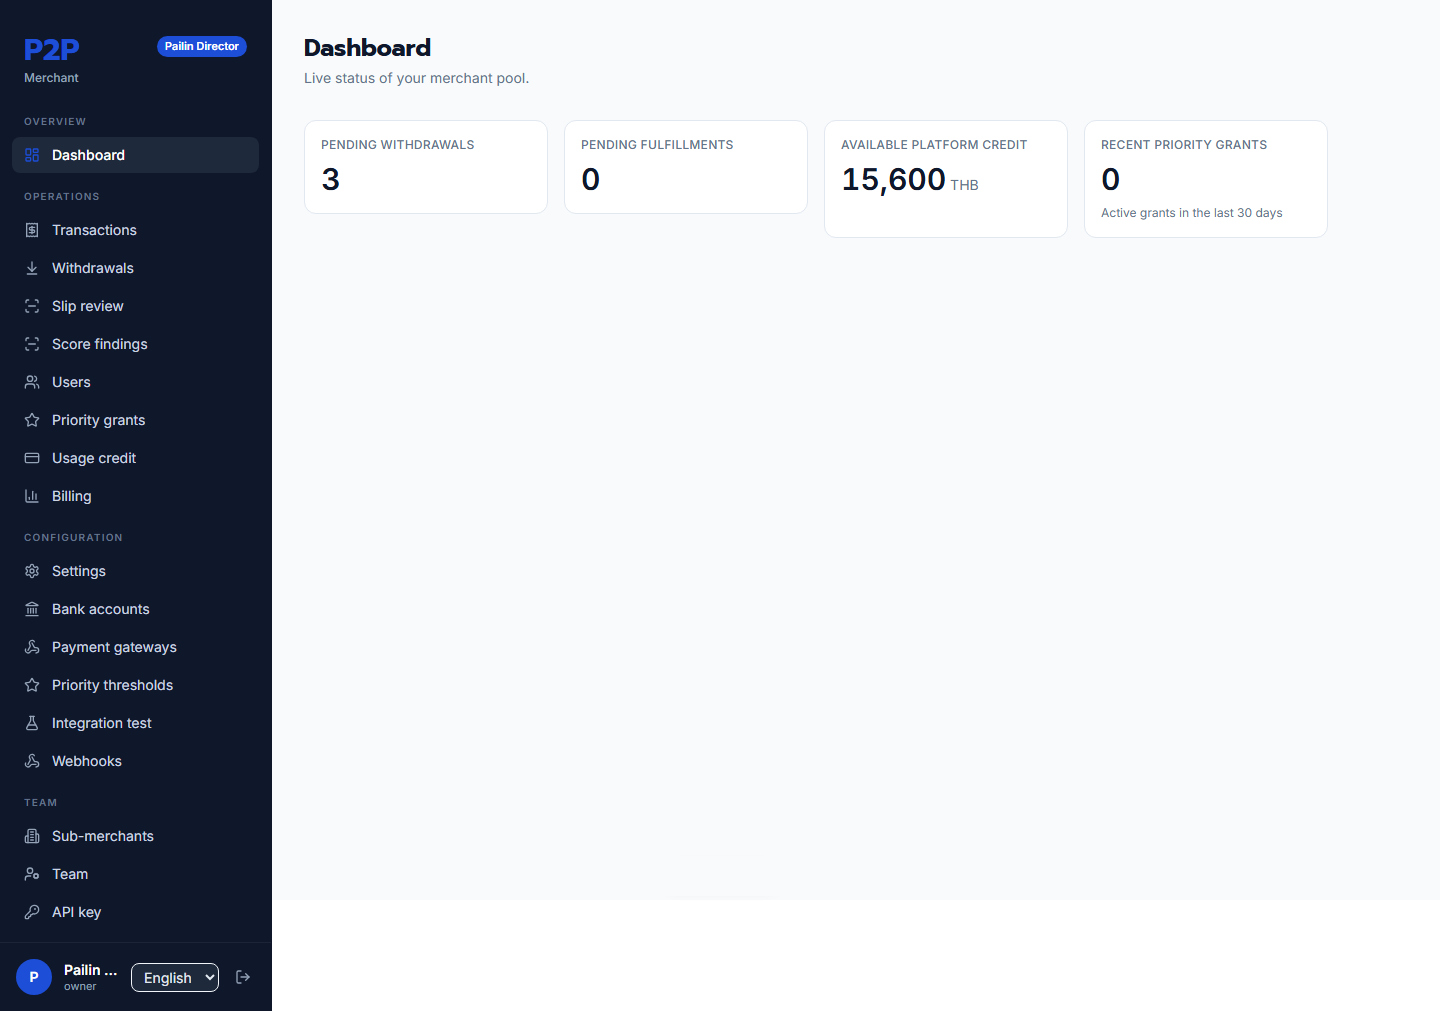
The dashboard is your at-a-glance operations view. It shows the counts that need attention — pending withdrawals, pending fulfilments, your available platform credit, and recent priority grants — and each card links straight to the relevant queue.
3. Transactions
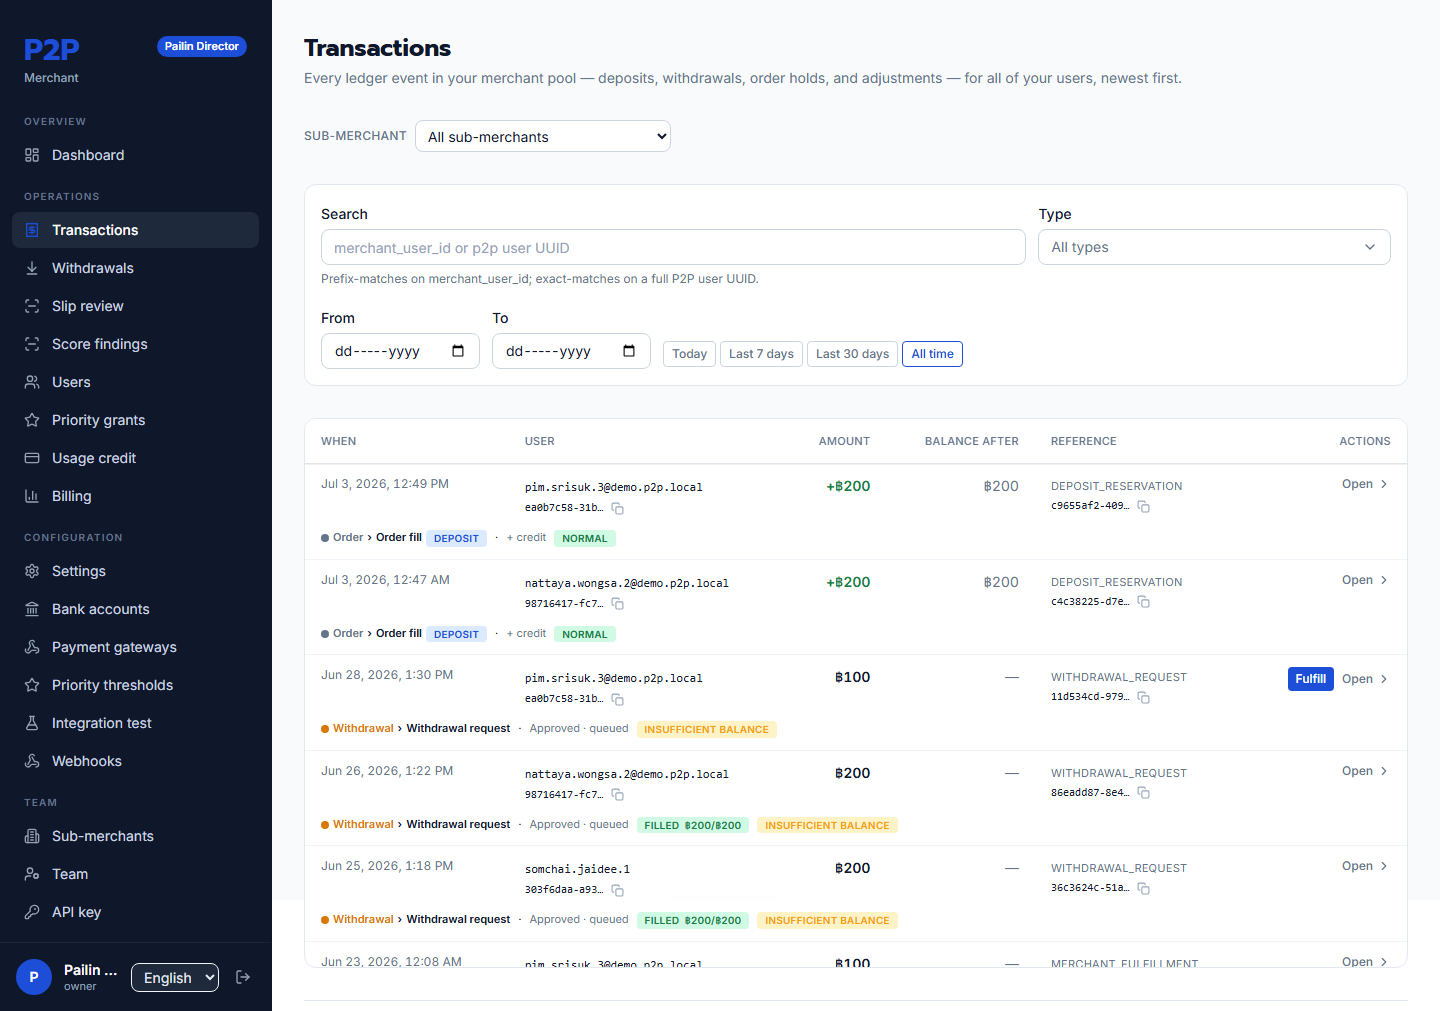
Transactions (/merchant/transactions) is the full money feed for your pool. Search by ID, amount, or phone number; filter by type (deposits, deposit legs, withdrawals, and more) and by date range. Owners can additionally drill down by sub-merchant.
Row actions depend on the transaction type:
- A deposit / reservation offers Cancel & release — this frees the held reservation and unbinds any withdrawal it was matched to.
- A withdrawal offers Fulfil — see Section 4.
Transaction detail
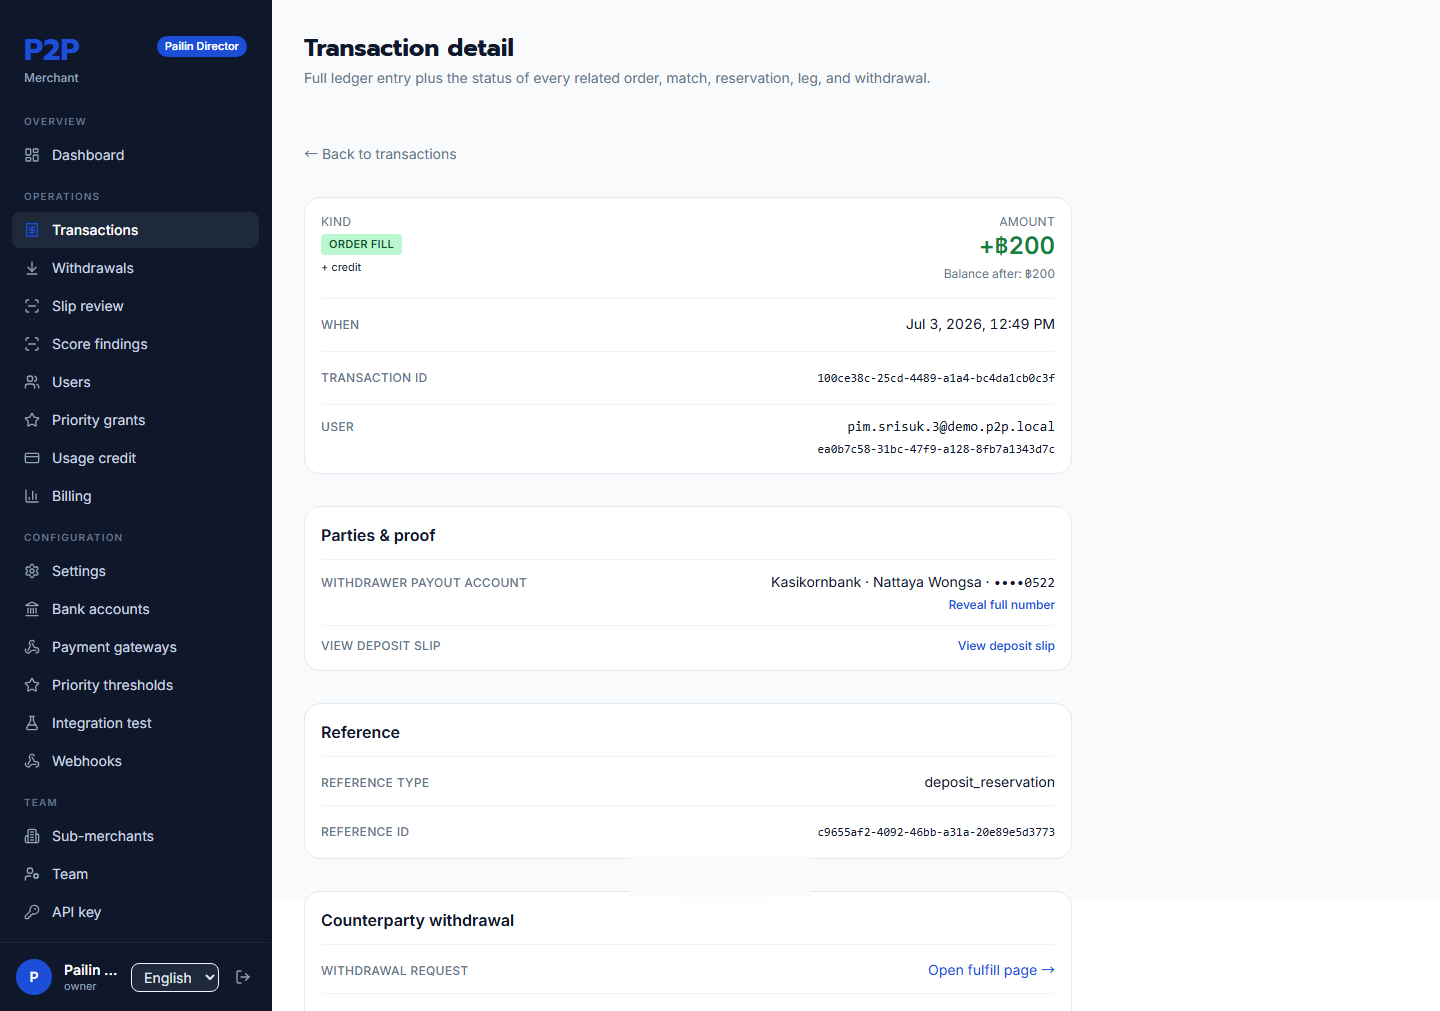
Opening a transaction shows the full picture: the ledger entry, the uploaded slip image with its parsed sender and receiver, the (masked) payout bank account, and the list of funding deposits that settled it. Two signals are worth knowing:
- Over-cap — the payer sent more than was reserved. Only the reserved amount is credited; the surplus is recorded for your reconciliation.
- Under-cap — the payer sent less. Only what arrived is credited; the shortfall was never received.
4. Withdrawals
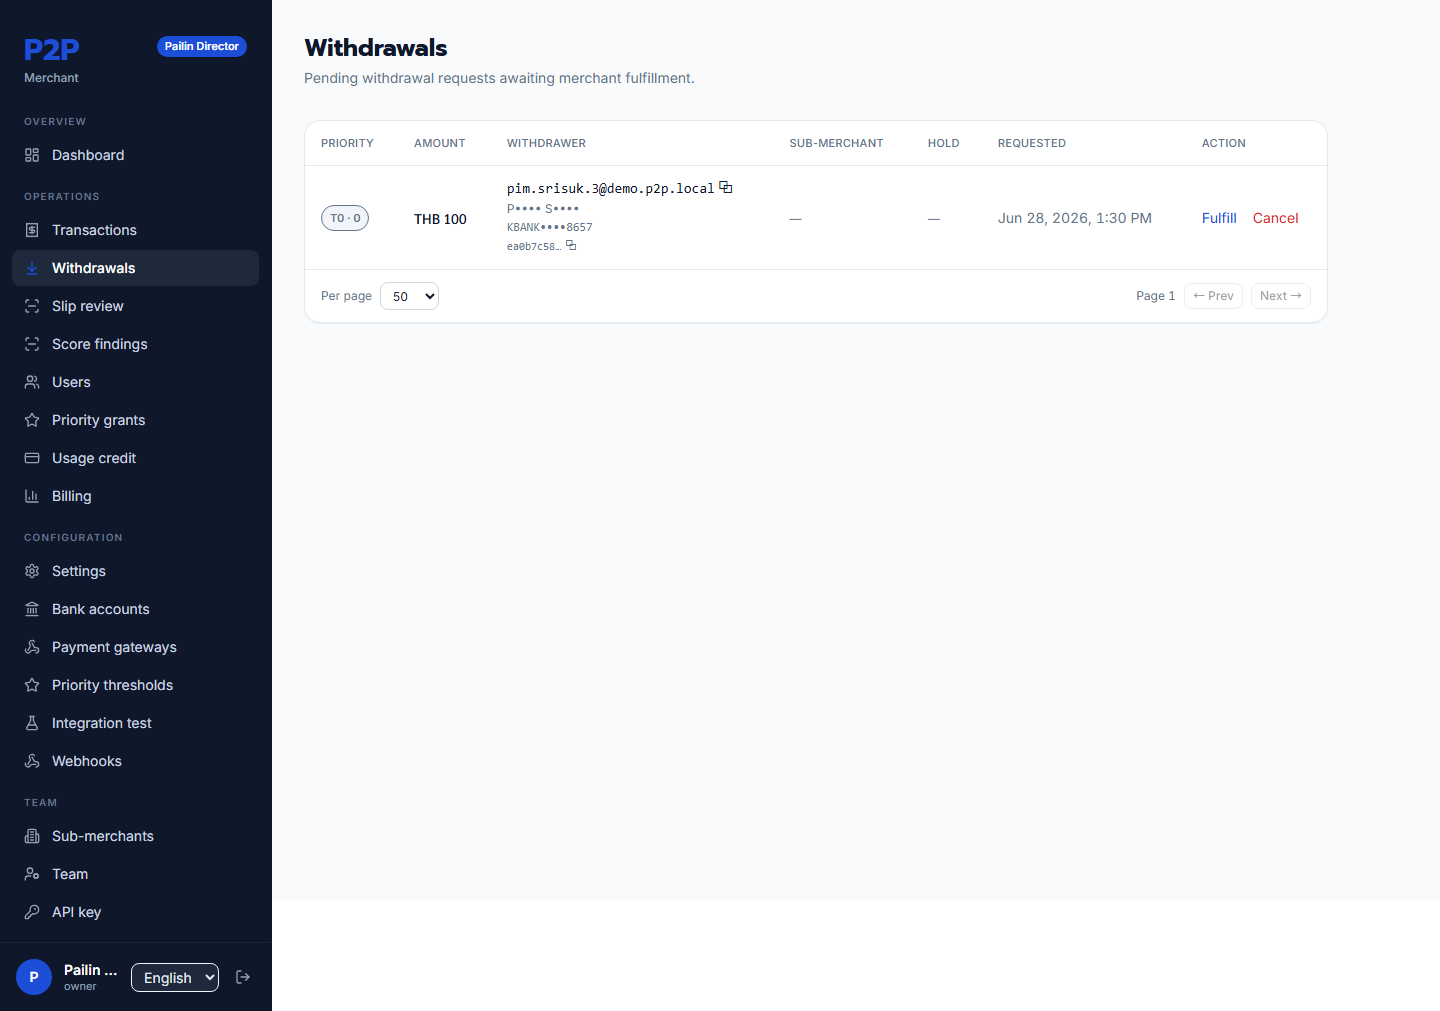
The Withdrawals queue lists withdrawal orders awaiting fulfilment, sorted by priority tier. Each row shows the amount, the withdrawing customer (by your own user ID), any sub-merchant tag, and the requested date.
Fulfilling a withdrawal
Fulfilment is a slip-or-bypass choice — you do exactly one of the two:
- Upload a proof slip — the bank transfer receipt showing the money reached the customer.
- Bypass with a reason — for settlements made outside the normal slip flow (for example, a cash payout). You must record why.
Withdrawals support partial fills: if you fulfil less than the full amount, the remainder returns to the customer's wallet, and you can use early-success to close a partial withdrawal you're satisfied with. Every fulfilment notifies your system via the withdraw.notify webhook.
5. Slip review
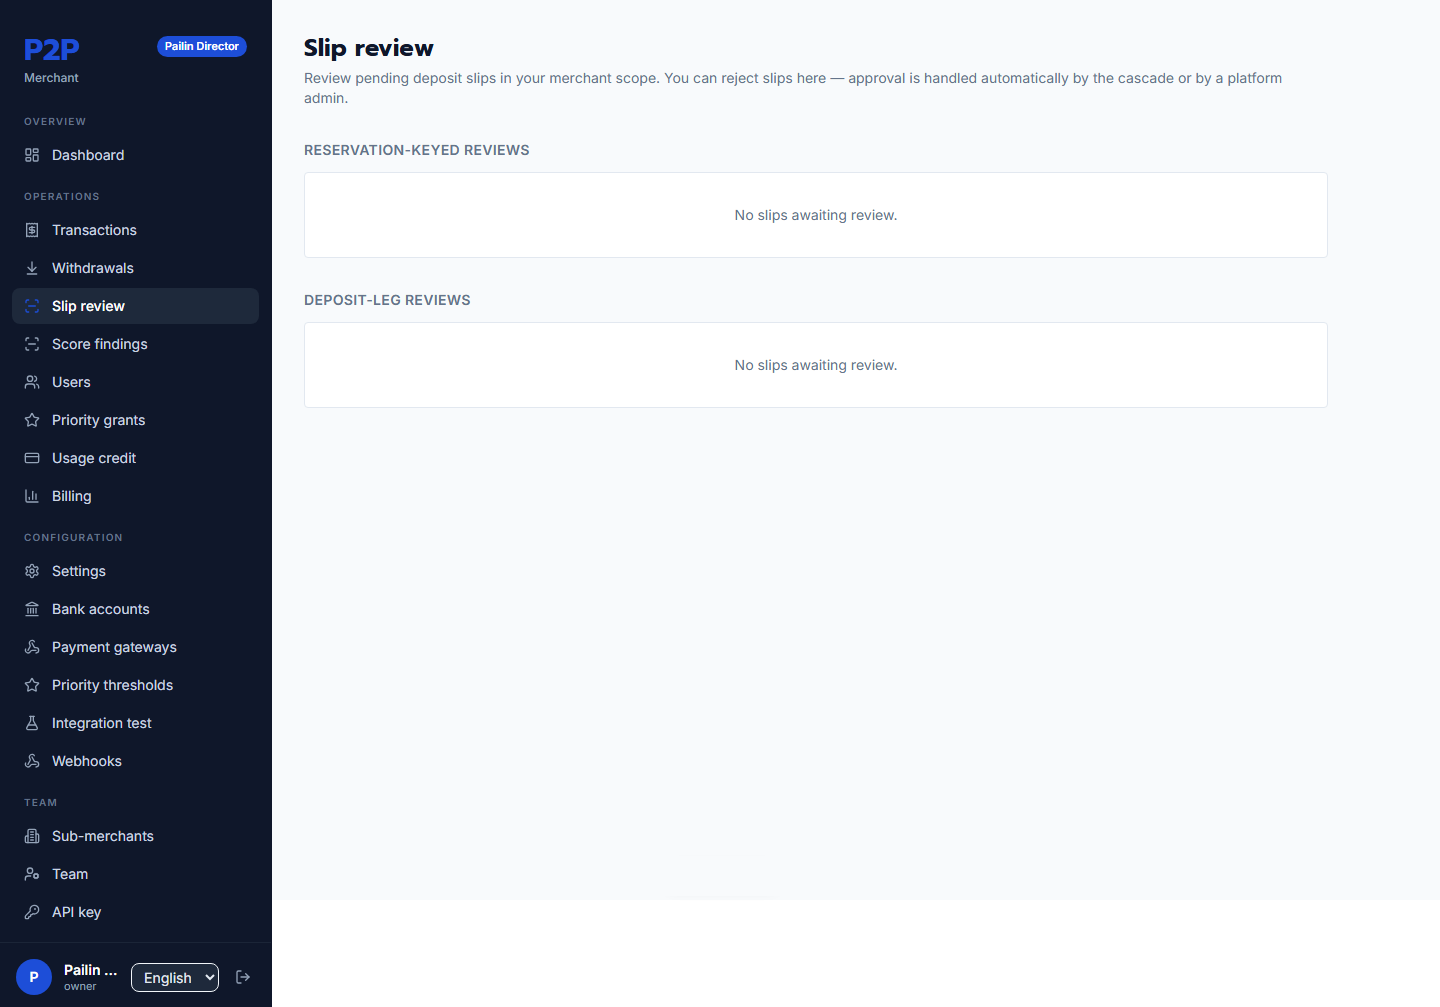
Slip review is where you vet deposit proof. It has two sections — reservations (direct deposits) and legs (deposits that were split across bank accounts). Your primary control here is to reject a slip that doesn't check out (with a reason). Approving ordinary slips is an admin responsibility, with a few explicit exceptions available to you: attestation approvals and over-cap decisions.
Handy tools on each item:
- Re-verify — if the QR or receipt couldn't be read, re-run extraction after a clearer upload.
- Late-slip upload — if a reservation expired before the customer sent proof, upload the late slip to recover it into a fresh, reviewable deposit.
Score findings
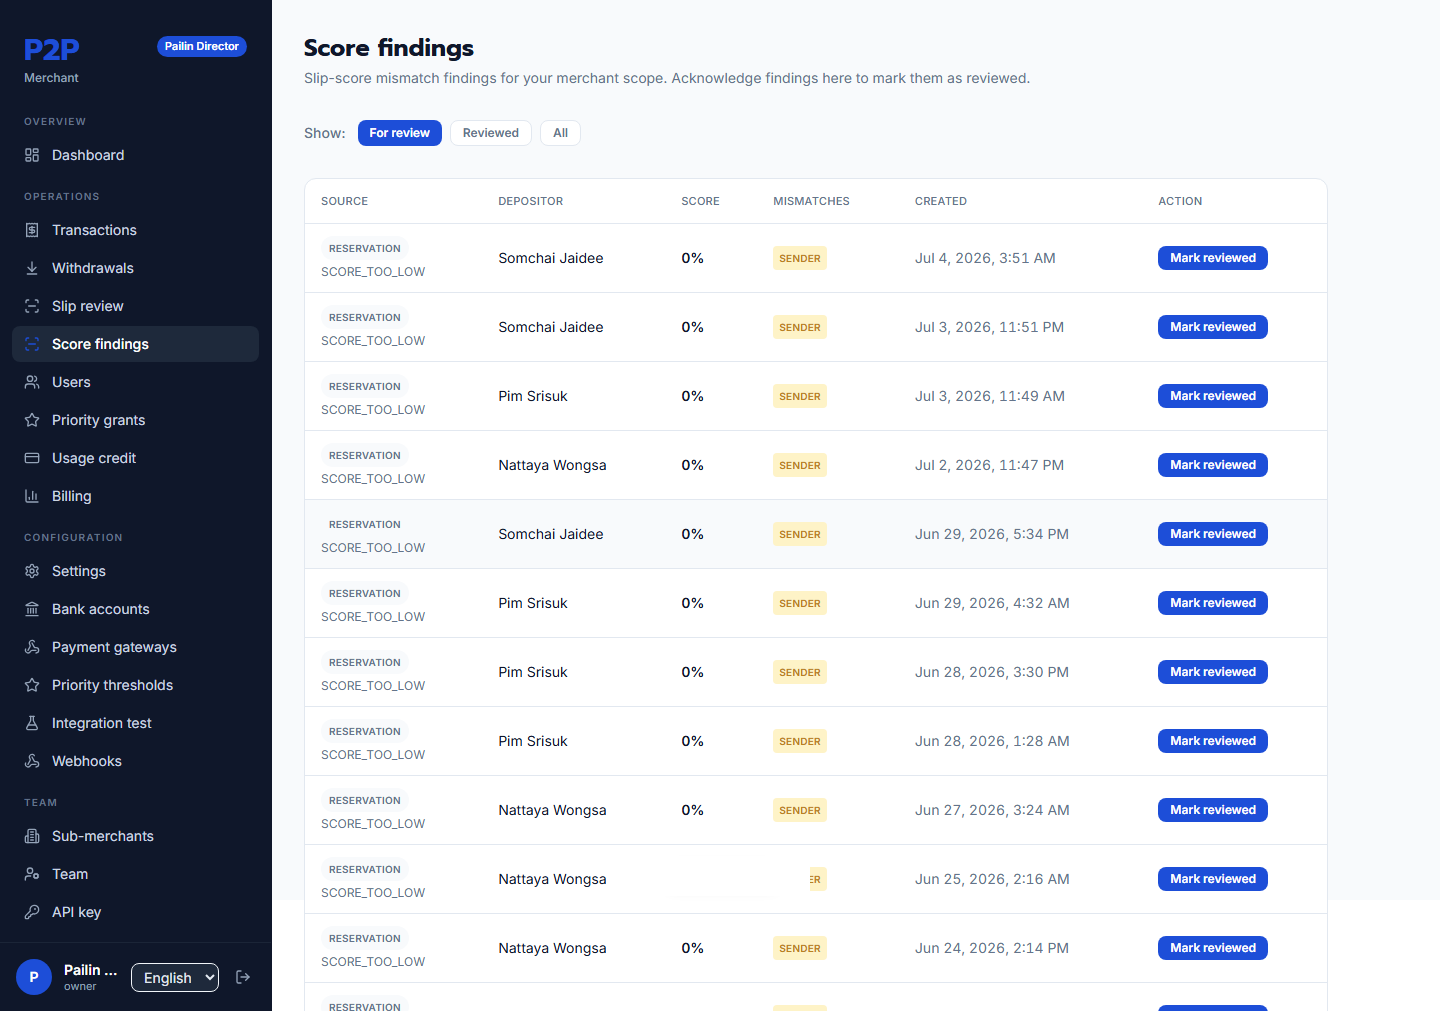
Score findings (labelled "Score findings" in the sidebar) surfaces slips that scored low on automated QR/OCR confidence — showing the source, the depositor, the confidence score, and how many fields mismatched. Filter by For review, Reviewed, or All; Mark reviewed records that you've acknowledged a finding.
6. Users
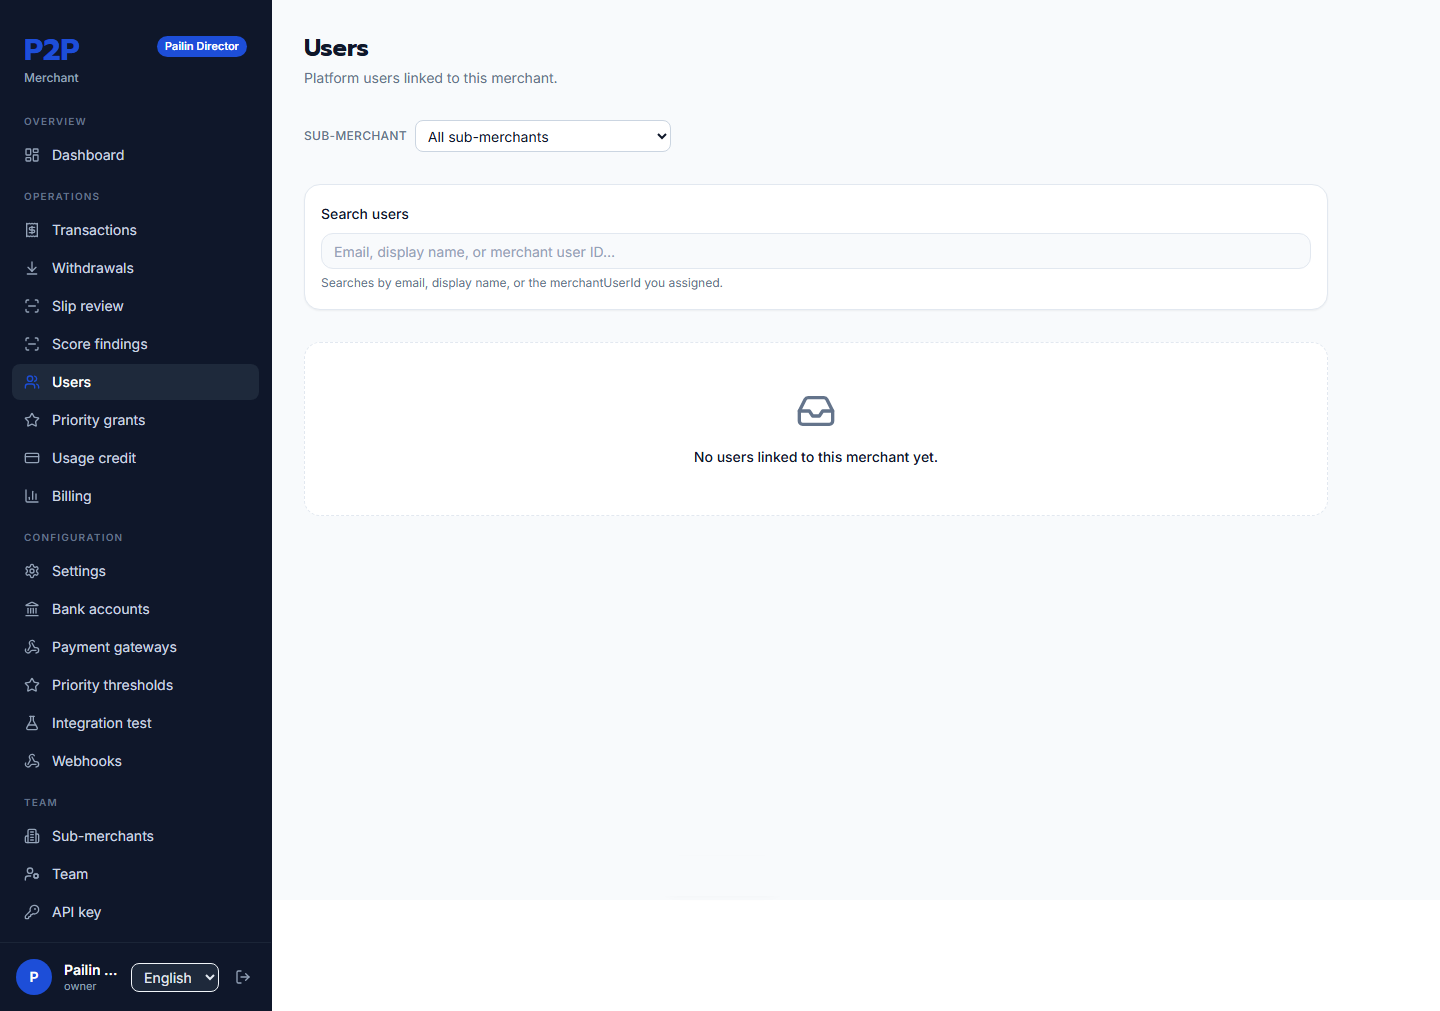
Users lists the customers linked to your merchant. Search by email, display name, or your own user ID. From here you also:
- Issue signup links — a one-time link that connects a customer to your merchant (re-issuable).
- Revoke consent — disconnect a user (you'll type
REVOKEto confirm).
User detail
[Populated capture pending — the user-detail page is described below; a screenshot is not yet available for this merchant's demo data.]
A user's page shows their profile, their multi-pool wallet (REAL / POINT / PLATFORM_CREDIT balances), and recent withdrawals. Bank numbers are masked to the last four digits; an OPERATOR or OWNER can reveal the full number, an action that is audit-logged.
⚠️ Production note. Full bank-number reveal is available in development but is currently blocked in production, pending the KMS key service (ADR-0102).
7. Billing & usage credit
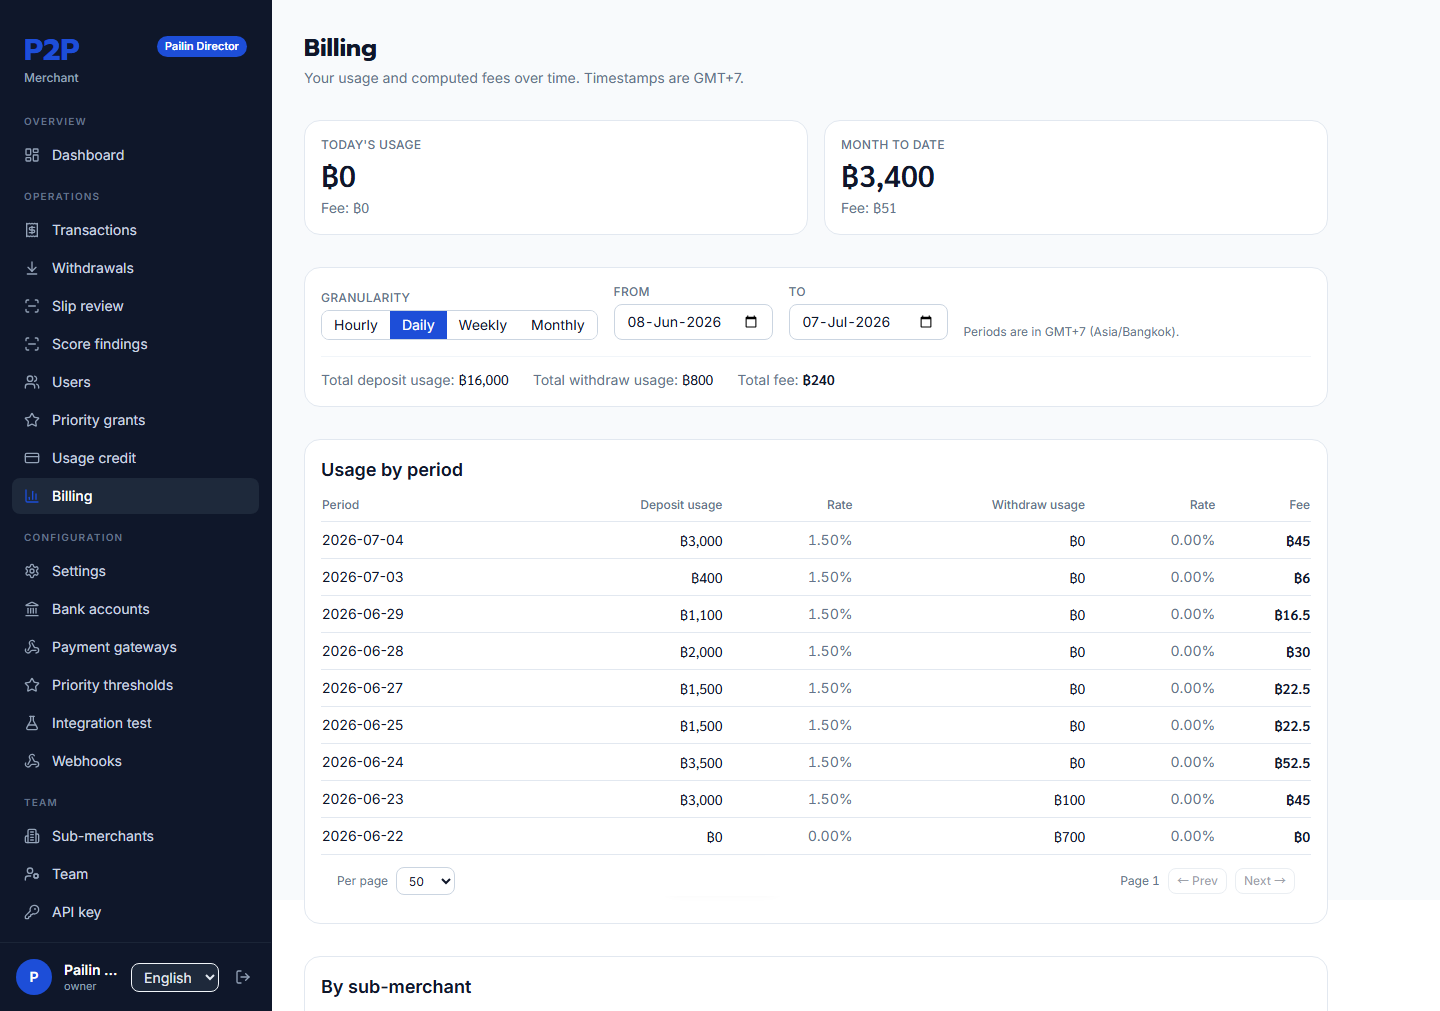
Billing shows your usage and the fees computed from it, in Bangkok (GMT+7) time. Two headline cards give today and month-to-date usage plus fee; below them, a granularity toggle (hour / day / week / month) and a date range drive a ledger table. Fees are computed at read time from your effective rate schedule.
Usage credit
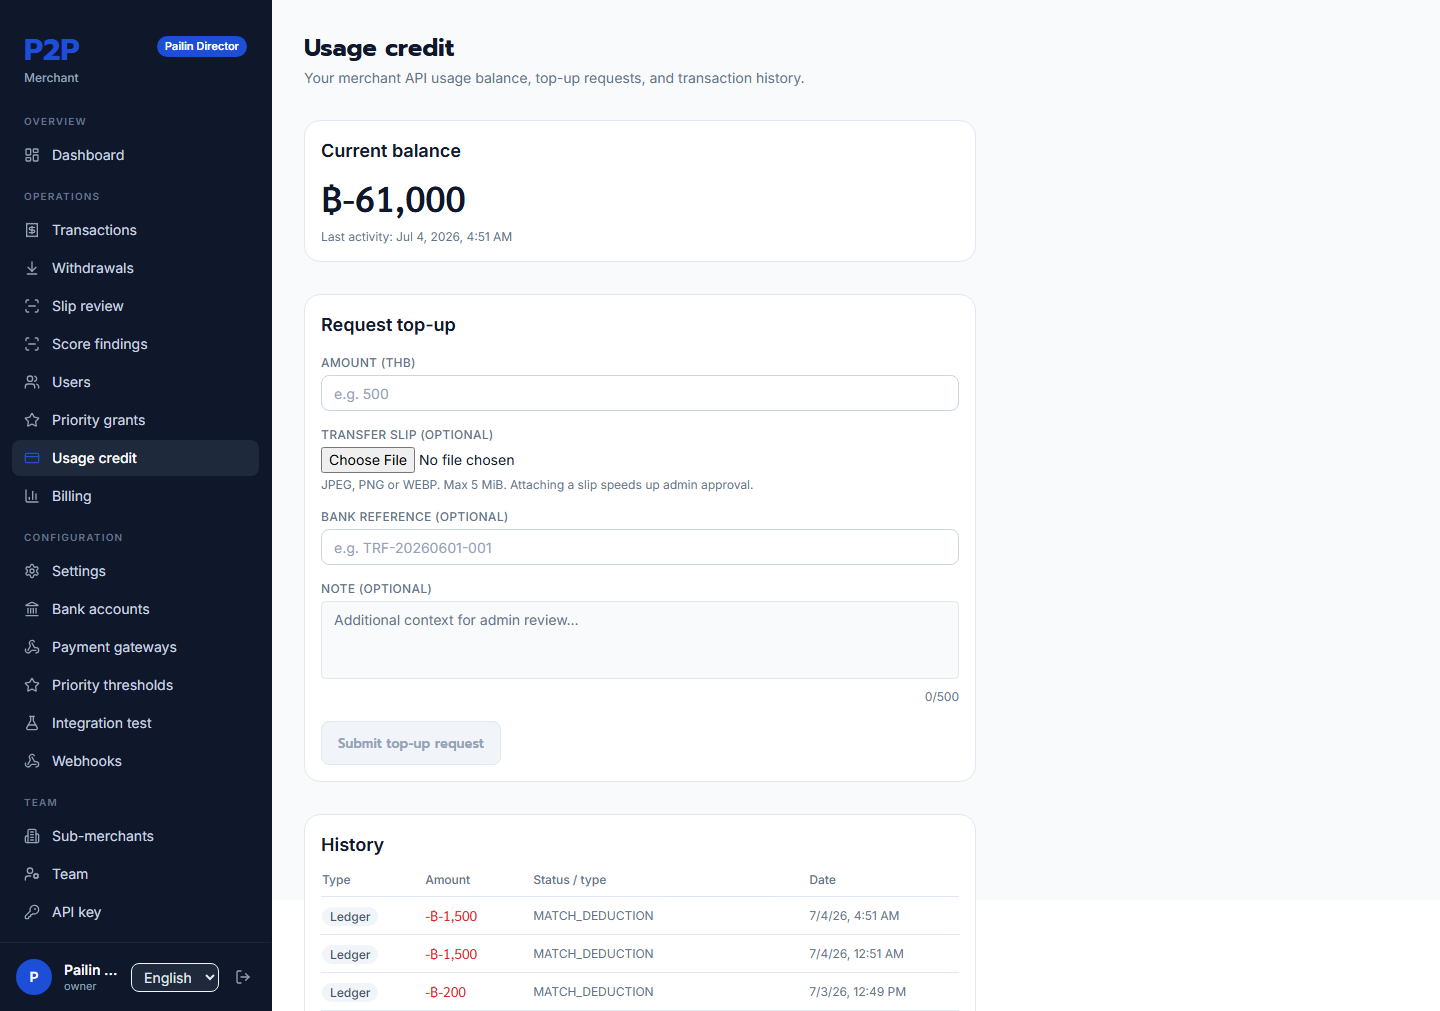
Usage credit is the prepaid balance the platform draws your fees from. The card shows your current balance, your low-balance threshold, and the last activity. Use Top-up request to add credit (an admin reviews it). The history table logs every deposit, deduction, and adjustment.
8. Settings
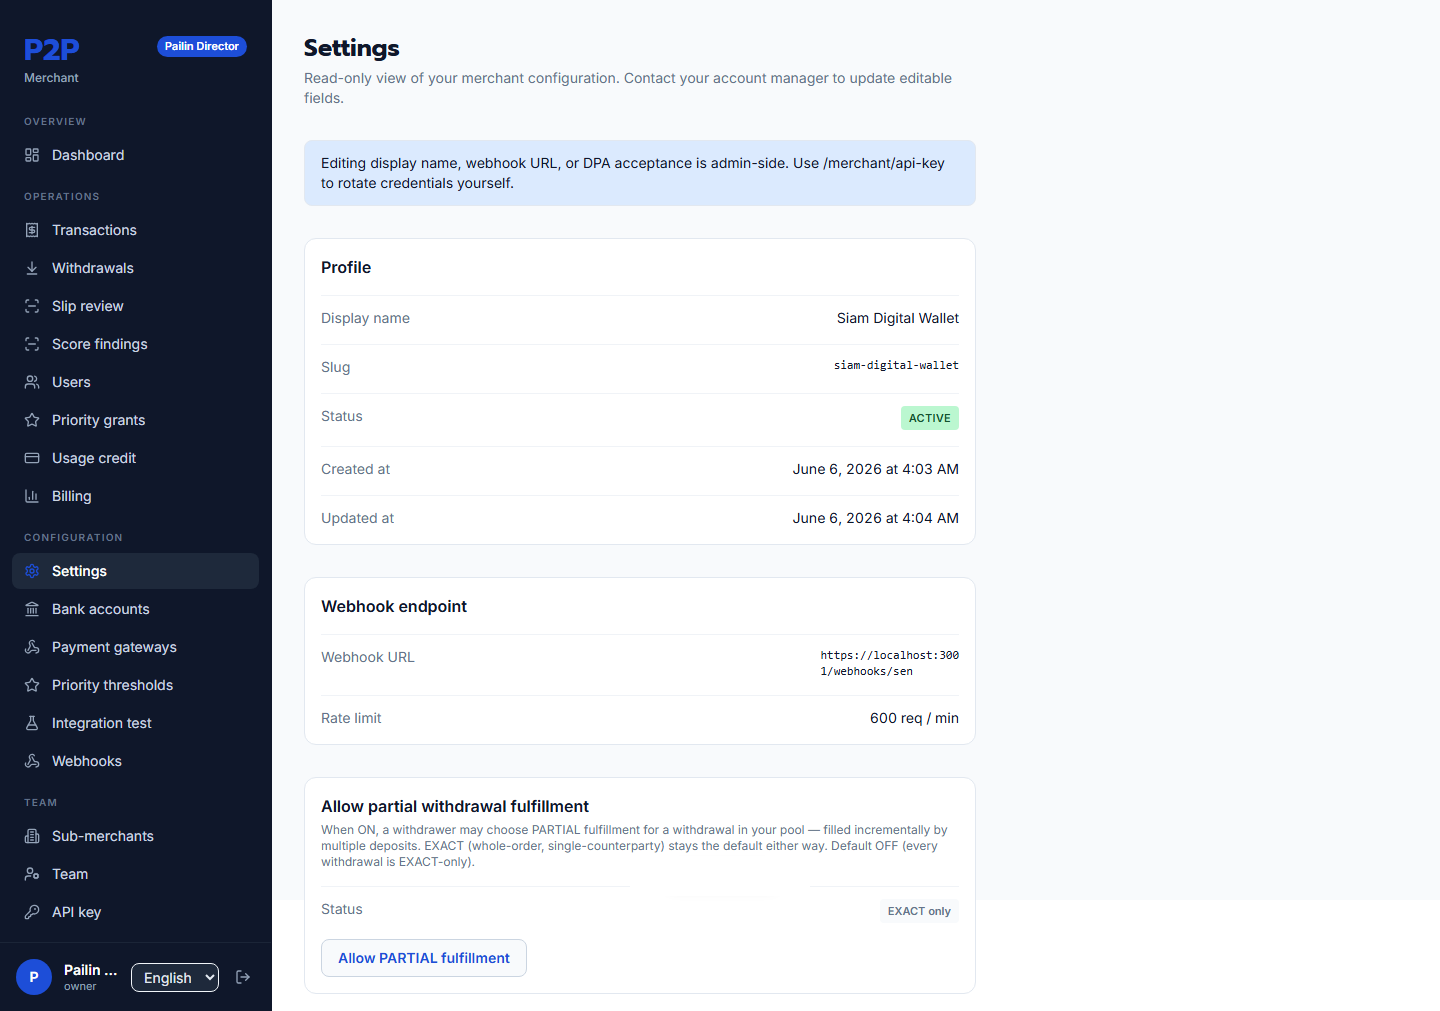
Settings shows your merchant configuration — display name, slug, status, webhook URL, rate limit, and DPA acceptance. Most of these are managed by an admin; the sub-pages below are the ones your owners control.
Bank accounts
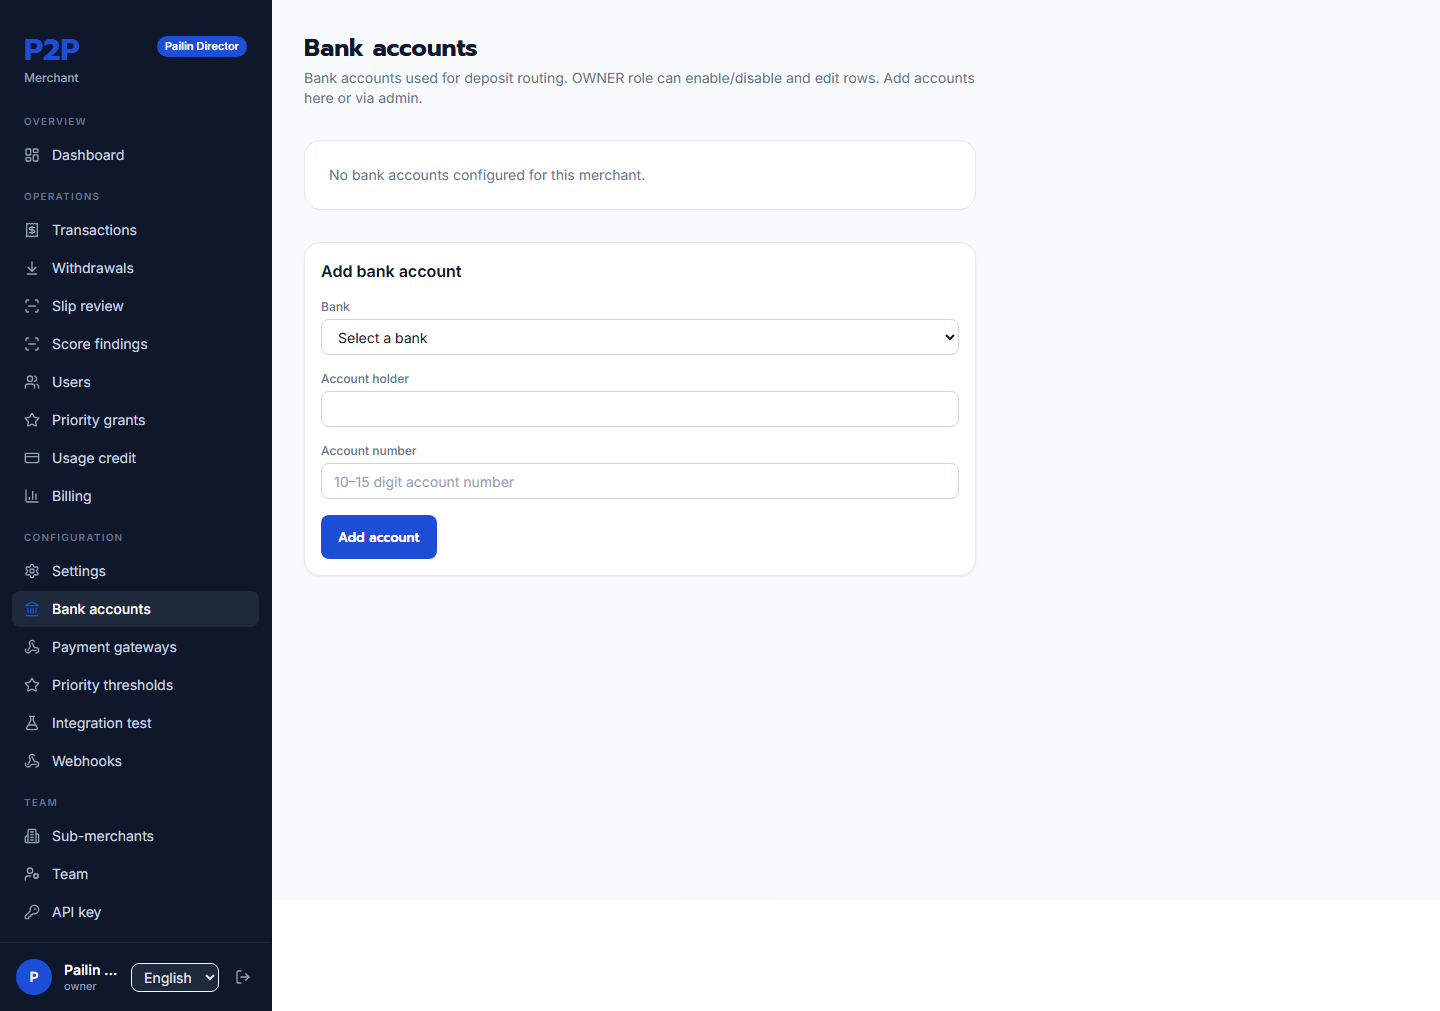
Your routing pool is the set of bank accounts that customer deposits are directed to, round-robin. Owners can toggle accounts active or inactive and edit your own accounts; adding new accounts is done by an admin.
Payment gateways
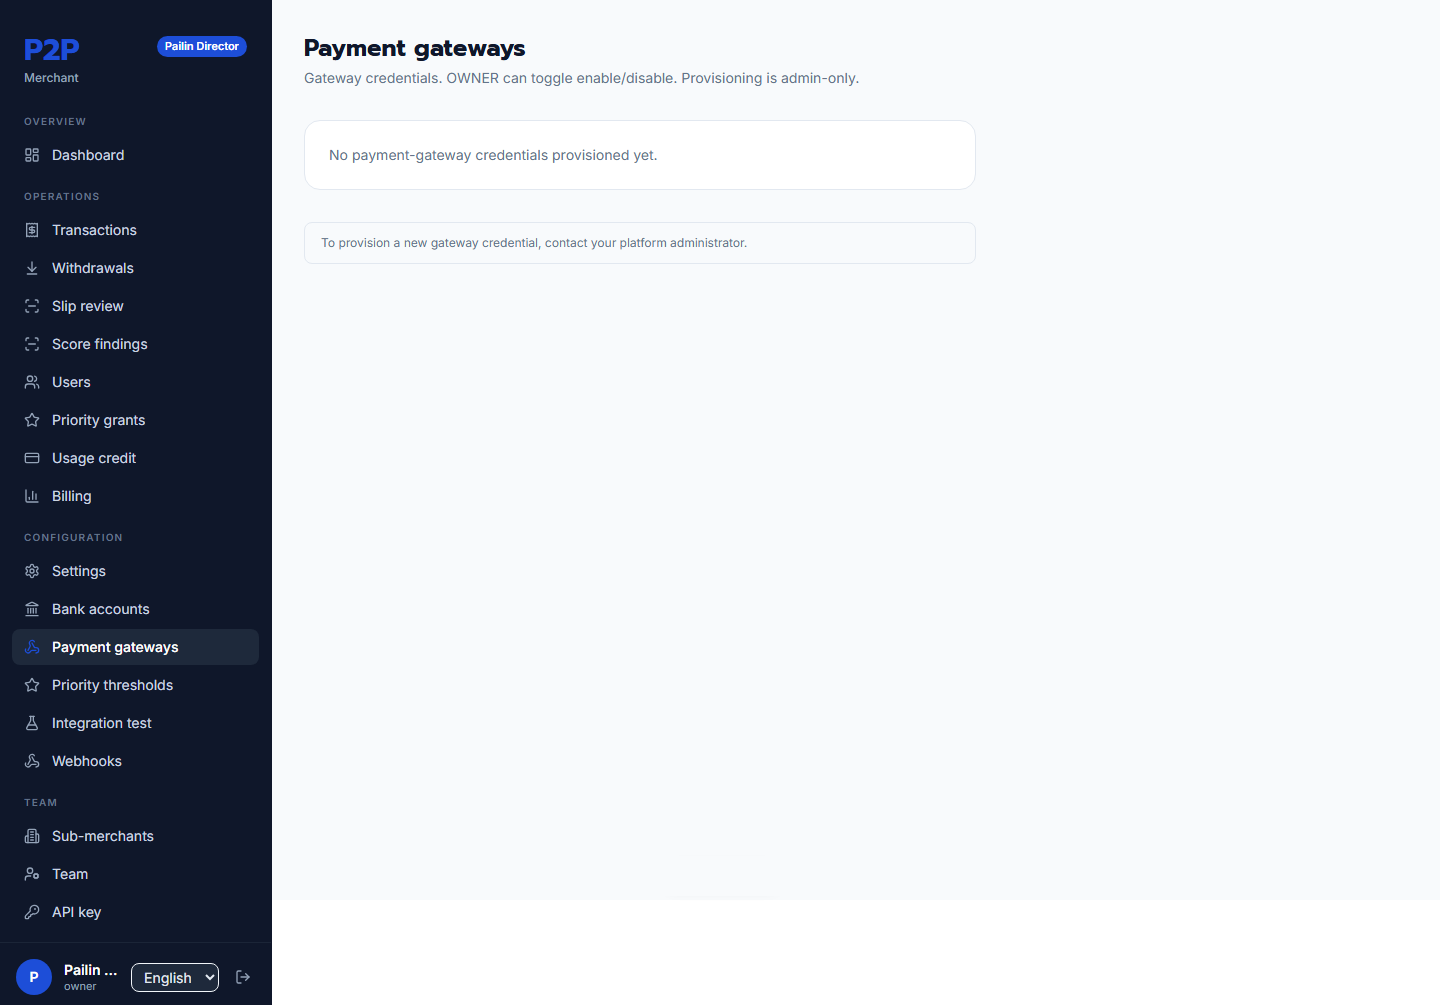
If your deposits route through a payment gateway, this page lists the gateway credential, its status, and its paired routing slot. Owners can enable or disable it and rename its display label. Secrets are never shown.
Priority thresholds
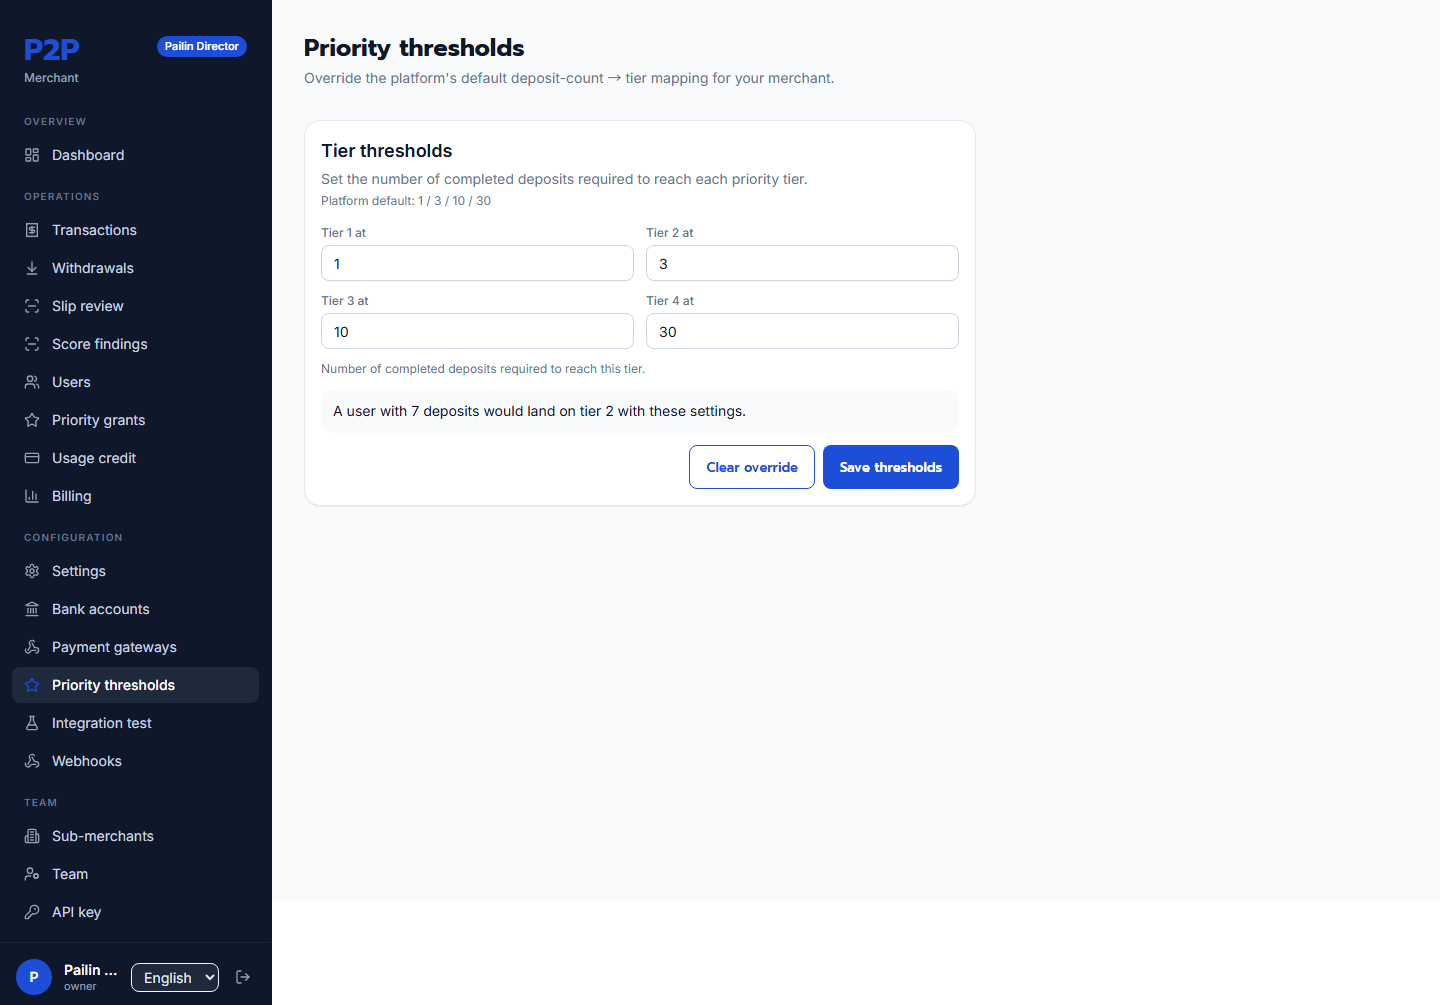
A four-tier, strictly-increasing set of amounts that classify which deposits get priority placement.
⚠️ Work in progress. This configuration screen is a work-in-progress (Phase C) and may not accept changes yet.
9. Sub-merchants
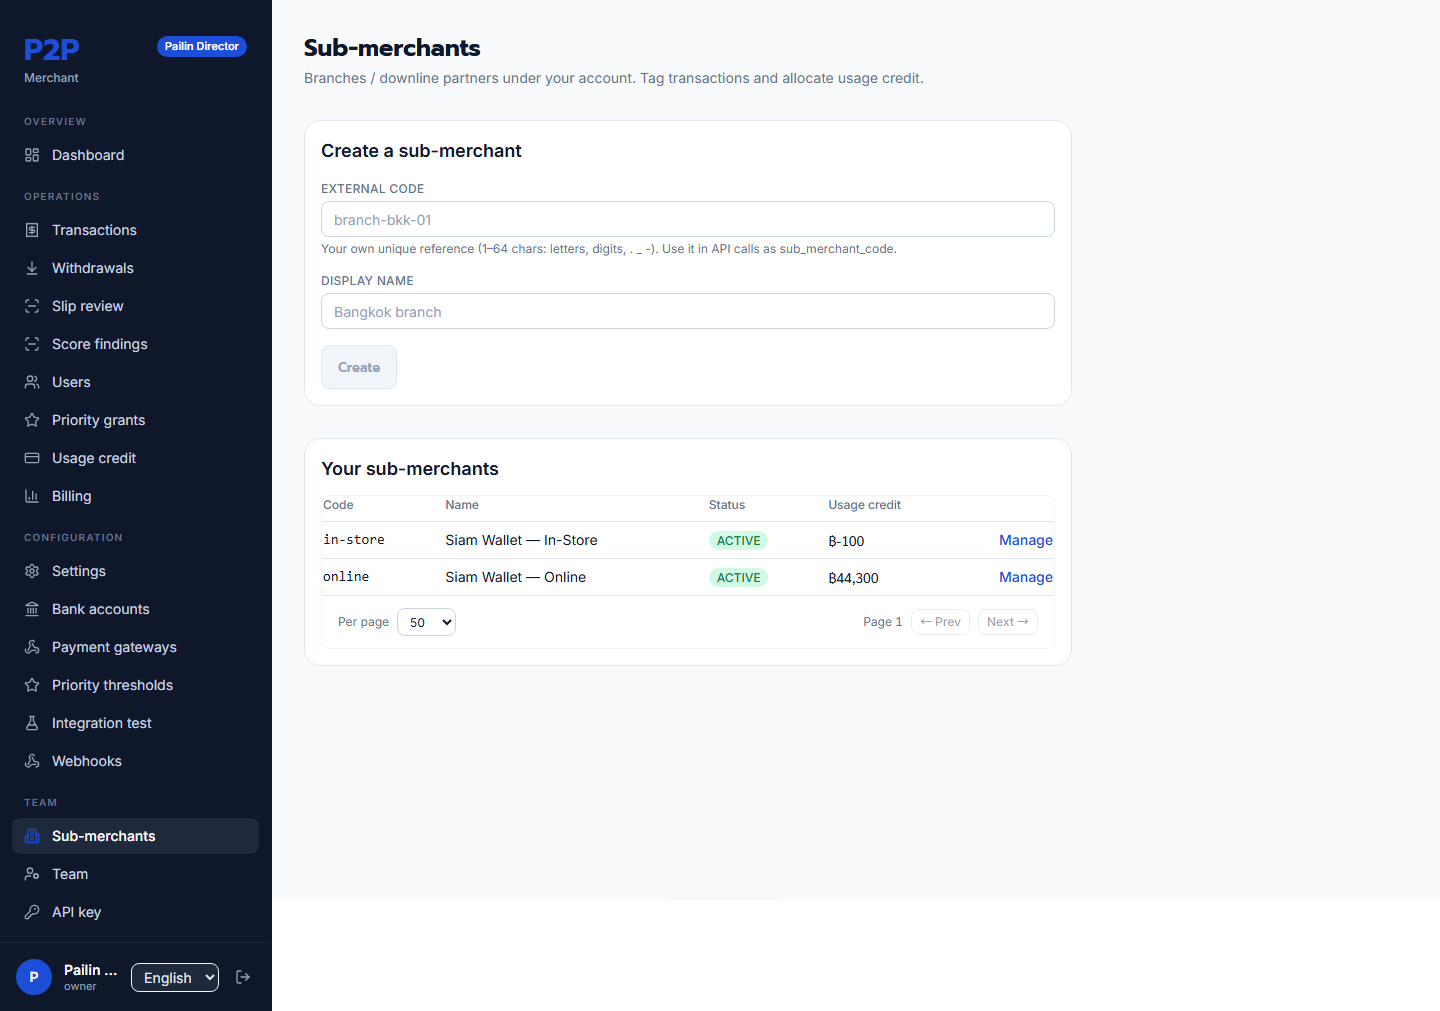
If you resell to your own downstream businesses, Sub-merchants lets an owner create and track them. Each sub-merchant has a unique code, a display name, and its own usage-credit balance, which you allocate from your parent pool. Transactions and users can be filtered by sub-merchant across the portal.
10. Team
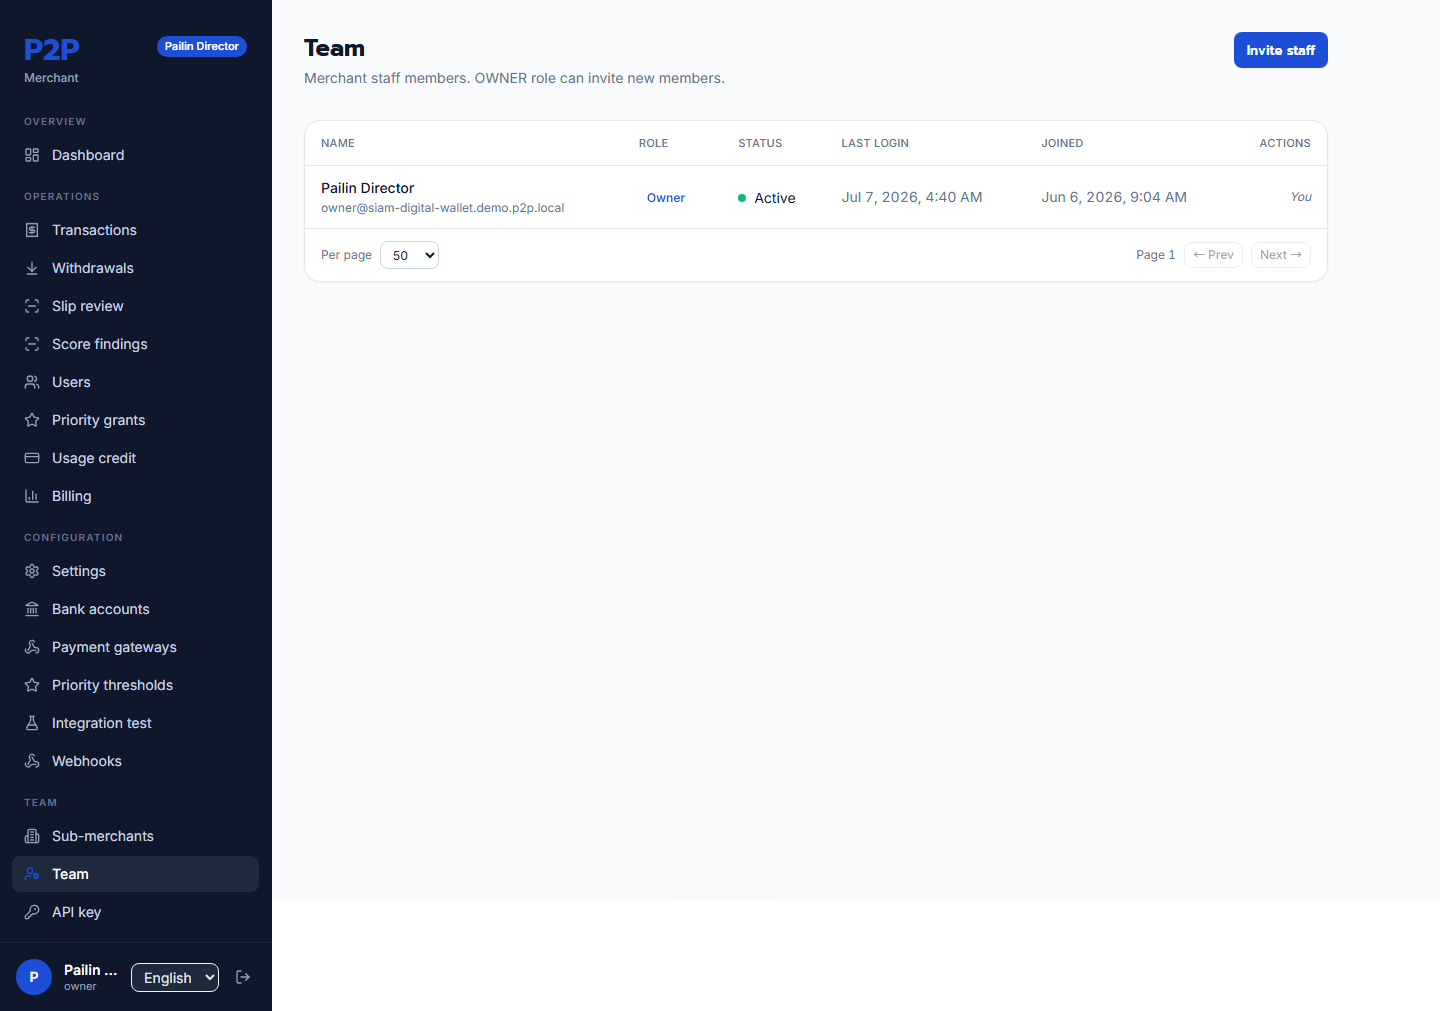
Team is where an owner manages staff. Invite a new member (the system shows one-time credentials plus a TOTP QR code to hand over), change a member's role, or reset a member's credentials. Guardrails protect you: you can't change your own role, and you can't lock out the last remaining owner.
11. Priority grants
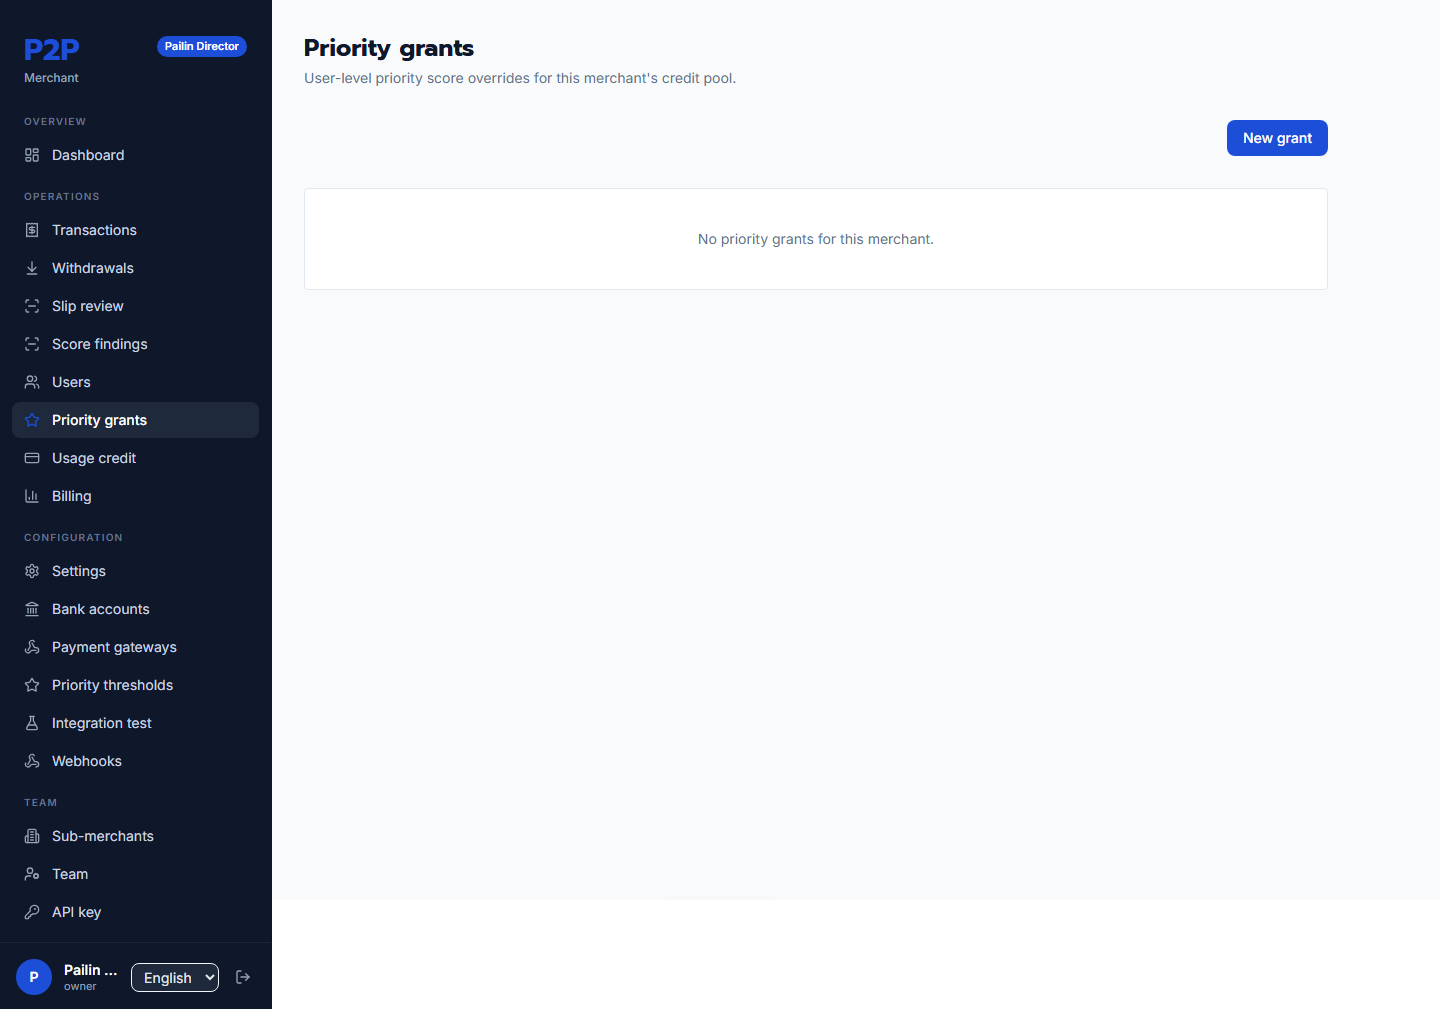
Priority grants lists per-user priority overrides.
⚠️ Work in progress. Creating and revoking grants is not yet enabled (Phase C); the list is view-only for now.
Appendix A — Developer & Integration
These screens are for the engineers integrating your systems with the platform. Business operators can skip this appendix.
API key & HMAC secret
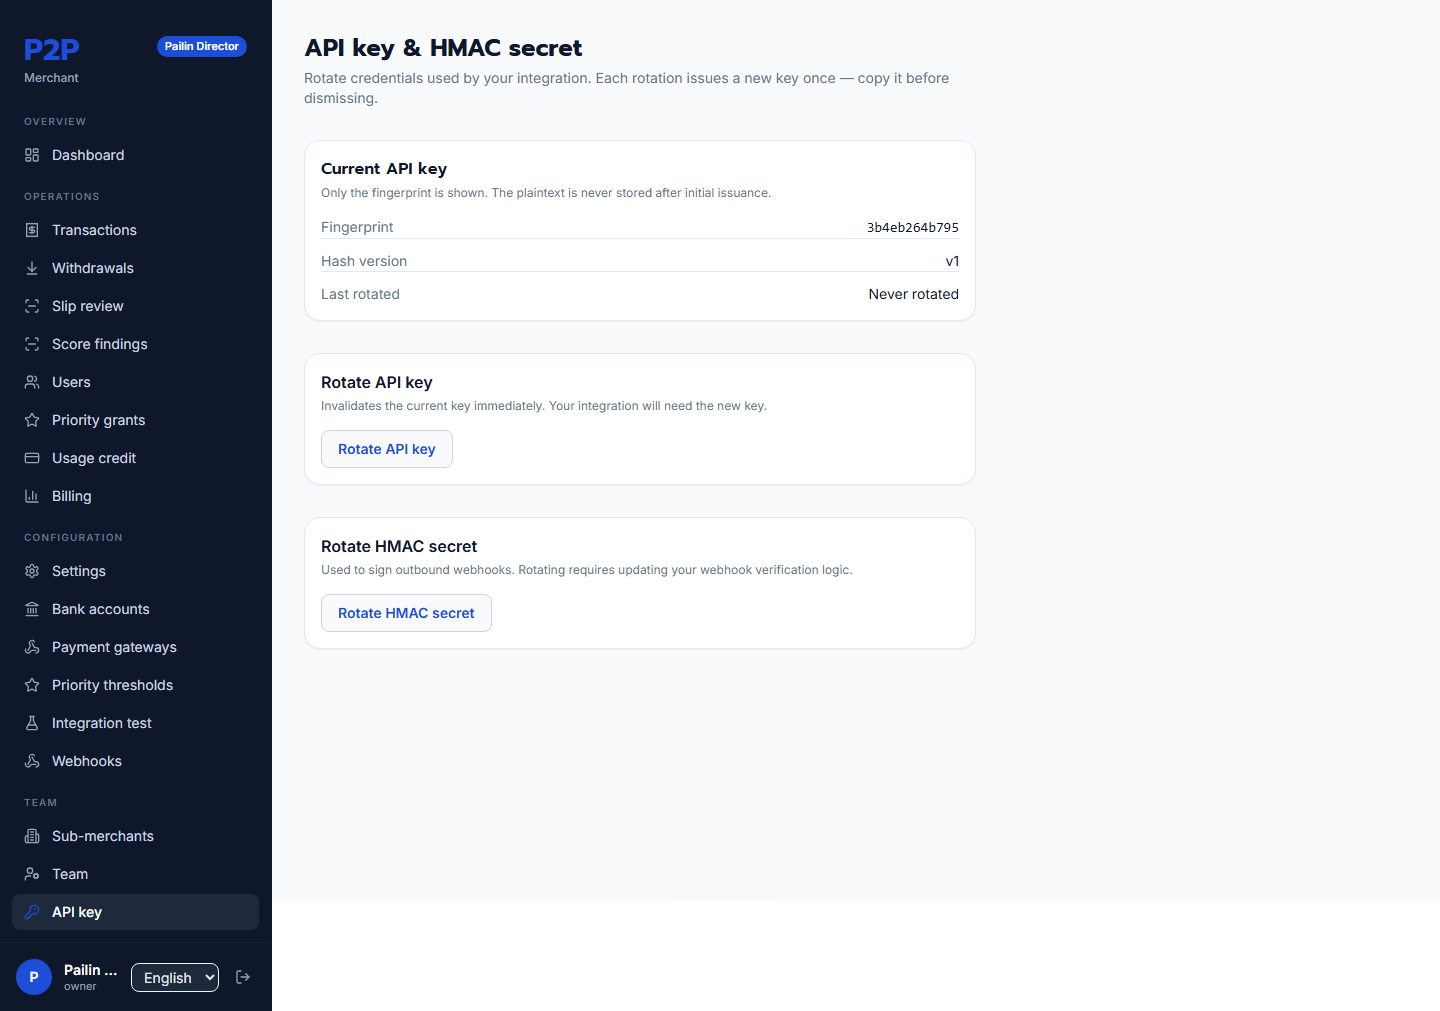
This page shows your API key fingerprint (never the full key) and lets you rotate the API key and the HMAC signing secret. On rotation the new value is shown once — copy it immediately. The old and new values both stay valid for 24 hours, so you can roll the change out with zero downtime.
Integration test console
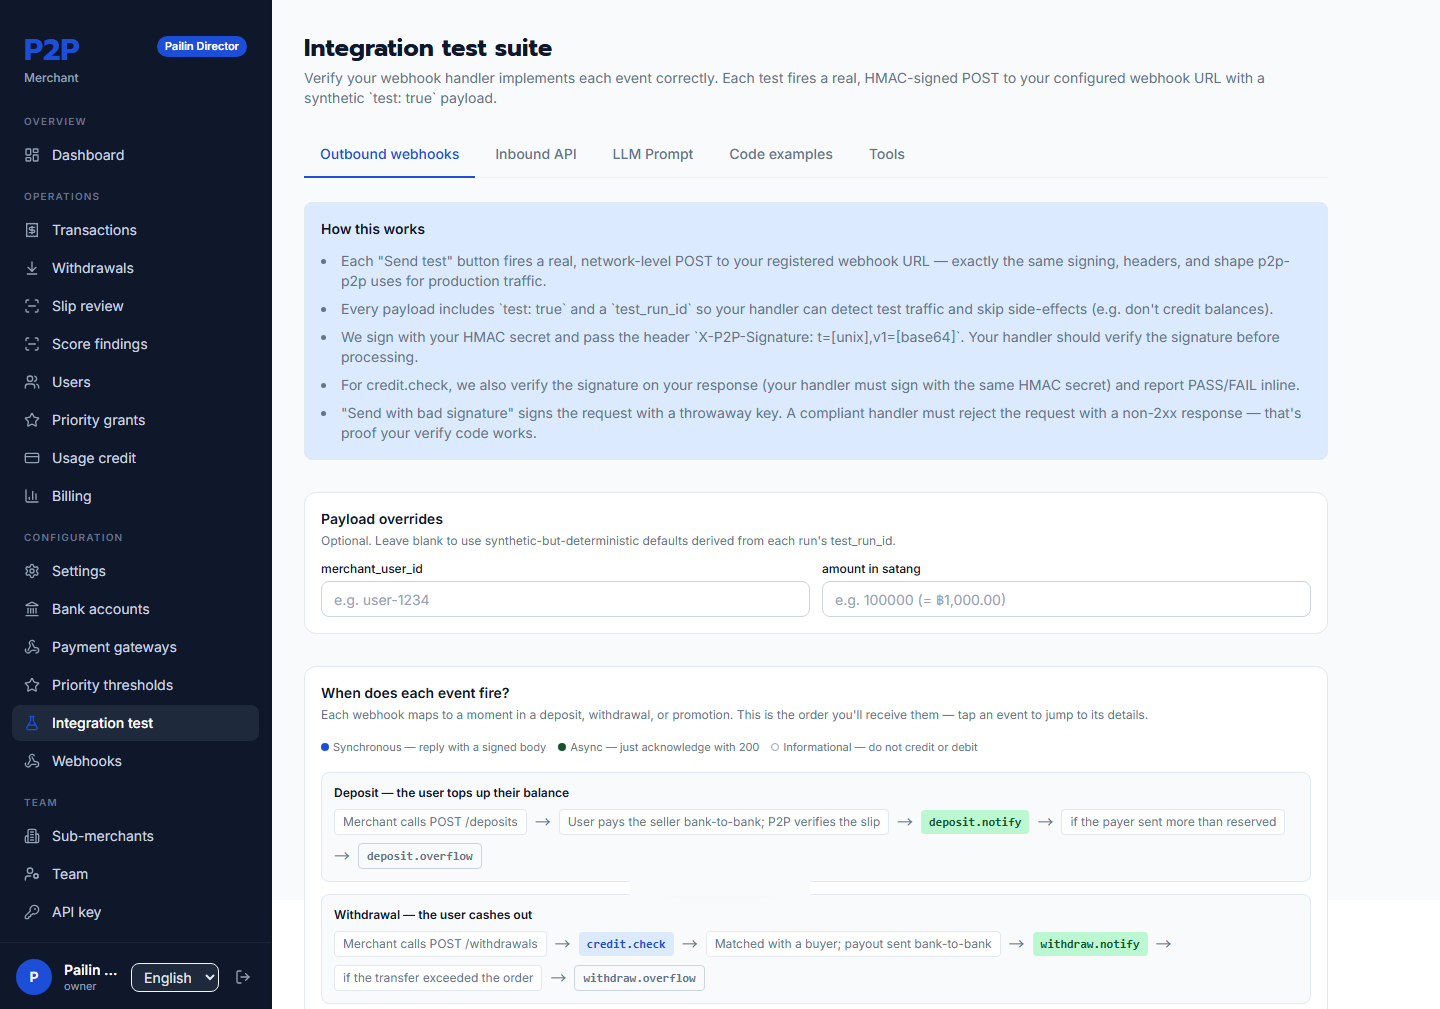
A developer playground with two tabs:
- Webhooks — fire synthetic events at your webhook URL, signed with real HMAC signatures, to test your receiver.
- API — make partner-API calls straight from the browser with your API key, with a flow-ordered reference and an LLM-prompt generator to help wire up an integration.
Webhooks delivery log
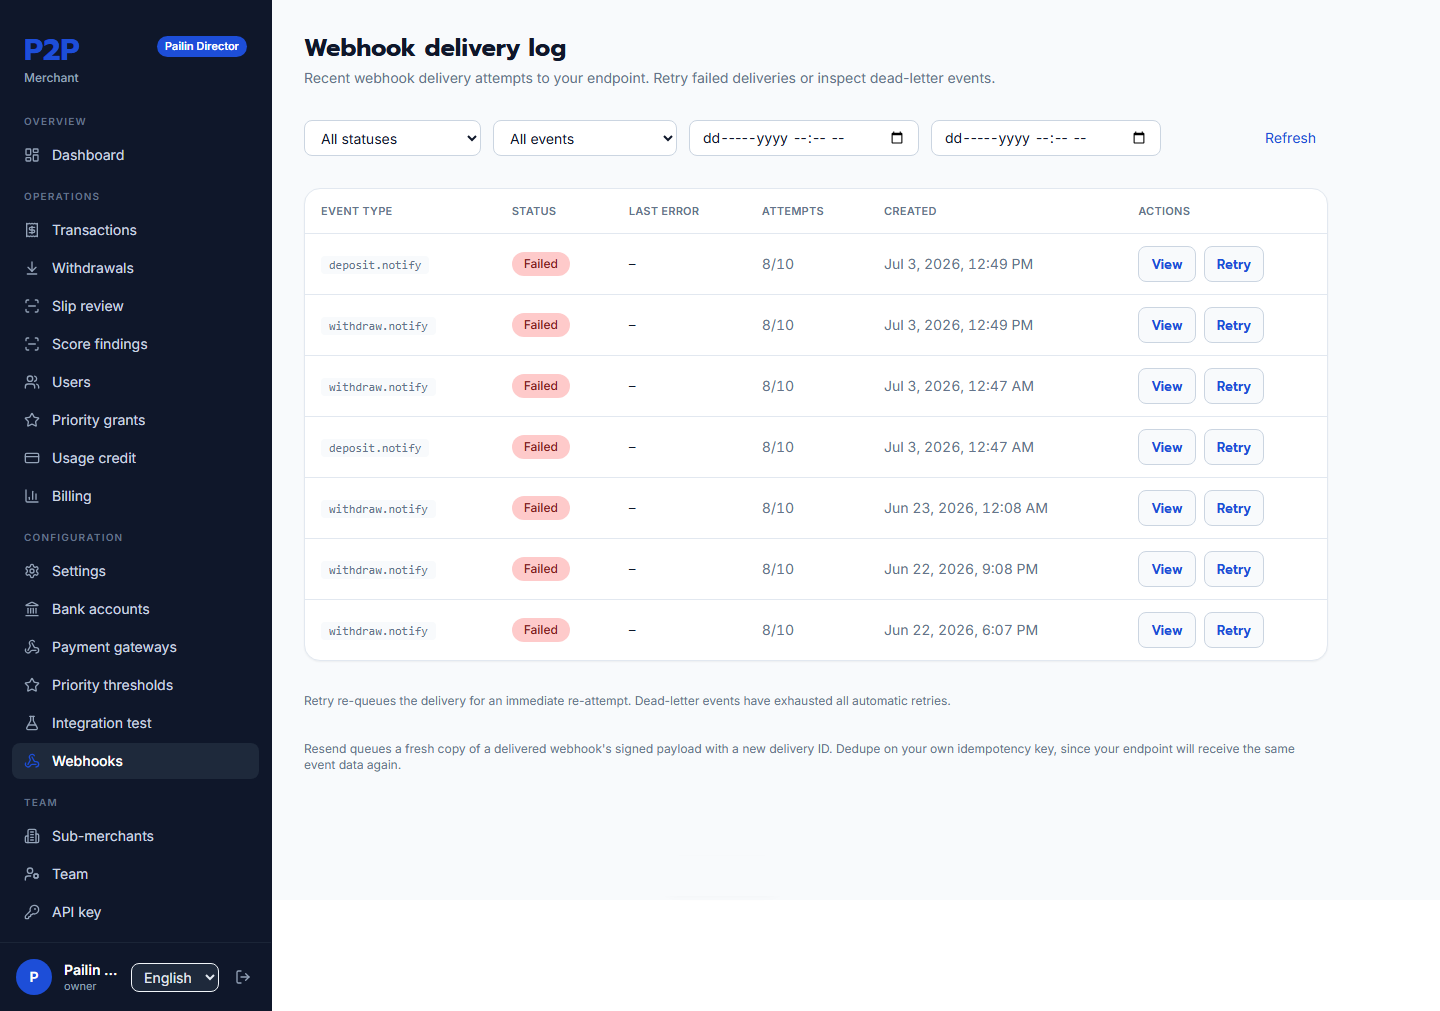
The full delivery log — both delivered and failed events. Filter by status, event type, and date. There are two re-send actions:
- Retry — re-queue the same failed delivery.
- Resend — copy a delivered event into a fresh delivery (the original is preserved).
The partner API in one paragraph
Your backend calls the platform's partner API to create deposits and withdrawals and to check balances. The platform calls you back with deposit.notify and withdraw.notify (unified settlement notifications) and makes a synchronous credit.check to confirm a user's balance before a withdrawal. Every outbound webhook is HMAC-SHA256 signed — verify the signature on your side using your HMAC secret (remember it's provisioned as base64; decode it to raw bytes before verifying). Every mutating call takes an idempotency key.
Appendix B — Glossary
- Reservation — a held slot for an incoming deposit, awaiting the customer's proof slip.
- Leg — one portion of a deposit that was split across multiple destination bank accounts.
- Over-cap / under-cap — the payer sent more / less than the reserved amount.
- Fulfilment — proof that a withdrawal's cash actually moved (a slip or a recorded bypass).
- Usage credit — your prepaid balance, from which the platform deducts fees.
- Sub-merchant — a downstream business you resell to, tracked under your merchant.
- REAL / POINT / PLATFORM_CREDIT — the three credit kinds a user's wallet can hold.